
Your Hosting at Websitebuddy supports multiple versions of PHP. To change PHP version used for your account, follow these steps:
Step 1. Log in to cPanel.
If you do not know how to log in to your cPanel account, please see this article.
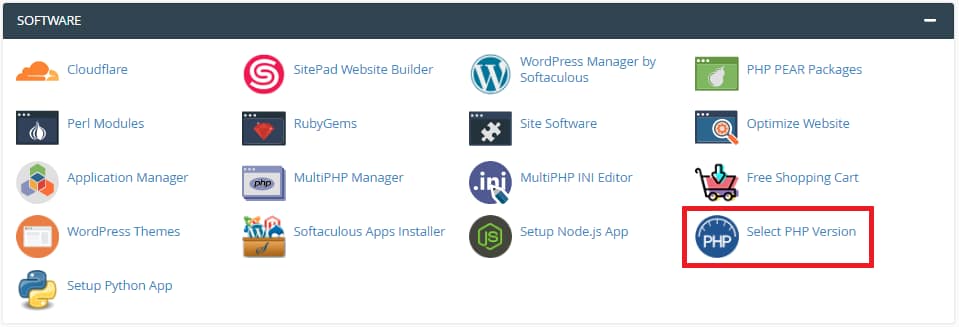
Step 2. In the SOFTWARE section of the cPanel home screen, click Select PHP Version:
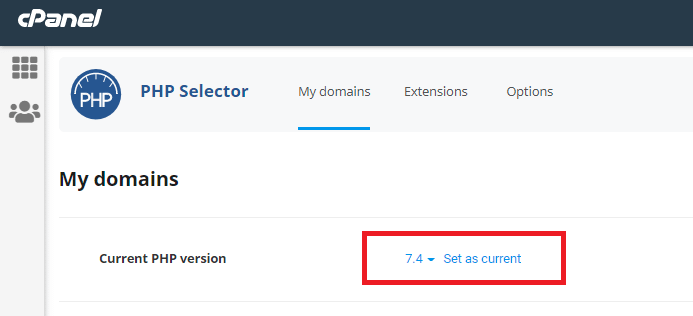
Step 3. cPanel displays the current version. To change php version, in the Current PHP Version list box, select the version that you want to use.
Step 4. Click on Set as current. The new PHP version takes effect immediately.
Why You Should Update / Change PHP version:
Better security: The most important reason to update your PHP is for security. As previously stated, security fixes for earlier PHP versions are no longer available. That implies known vulnerabilities aren’t patched in that version, leaving your site vulnerable to hackers.
Site Speed: Newer PHP versions will execute code more quickly, resulting in faster page load times. Faster website load timings lead to better user experience as well as positive SEO results. Site speed is a ranking element in SEO. Improve site speed if you want to be on the first page of Google search results.
Ongoing Support: You are safe from the newest known vulnerabilities if you are using the most recent PHP versions. When security flaws in PHP are discovered, people work togather to patch them.
Change PHP version for addon domain
Sometimes your website may need to use a different version from the one assigned to your whole cPanel account.
To set a different version for an addon domain, you need to add a special code to your .htaccess file. To do this, follow the steps below.
1. Find the .htaccess file for the addon domain in question. The steps for how to find it can be located here.
2. Add the following line to your .htaccess file:
<FilesMatch ".(?:html|php)$">
SetHandler application/x-lsphpXX
</FilesMatch>
For servers with LiteSpeed the code should be the following:
<FilesMatch ".(?:html|php)$">
SetHandler application/x-httpd-alt-phpXX
</FilesMatch>
where XX is the PHP version you wish to set. It can be 52, 53, 54, 55, 56, 70, 71,72, 73, 74, 80 or 81.
NOTE: When a different version is set for the addon domain, there are no PHP extensions enabled by default. To make a website work correctly, you will need to upload a php.ini file to the folder of the addon domain. You can check this article (see point 6) to help you with uploading files to the hosting account.
You need to download the php.ini file for different PHP versions from the Attachments section at the end of this guide. Do not forget to rename the file to php.ini once it is uploaded to the hosting account.
Alternatively, you can run the command below via SSH:
cp /opt/alt/default_php_ini/phpXX.ini /home/cPanel_username/path_to_the_folder/php.ini
- XX is PHP version you wish to set (it can be 52, 53, 54, 55, 56, 70, 71, 72, 73, 74, 80 or 81),
- cPanel_username should be replaced with your actual cPanel username, and
- path_to_the_folder is a path to the folder of the addon domain.
For example:
The process is similar if you wish to set a different PHP version for a subdomain.